
In one of my previous incarnations, I was employed as a desktop publisher (glorified clerk) in a quick print operation. Many small business owners would come by and have business notepads printed and assembled. I would always be amazed at the amount of money they would spend on these notepads because I knew just how cheap and easy they were to make

I am going to show you how you can make your DIY paper notepads, at home, with simple to find supplies for practically nothing. When you make them yourself you can design them with your own style and save a ton of money too! Beautiful handmade paper notepads make cute teachers gifts, stocking stuffers, and can be an inexpensive advertising tool for your small business. You can make them as simple or as elaborate as you want.
Supplies for DIY Paper Notepads:
- 15 sheets white all purpose printer paper
- Your choice of clip art
- 8.5×11 Chipboard Cardboard Craft Scrapbook Material
- X-ACTO Knife
- Notepad Padding Compound – White, 2oz
- Paint brush
- Card stock if making a notepad cover
- Ribbon to tie the cover
- Any other embellishments that you want

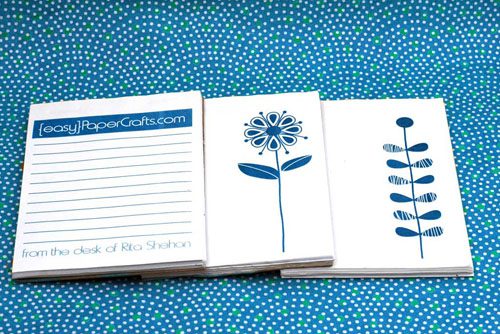

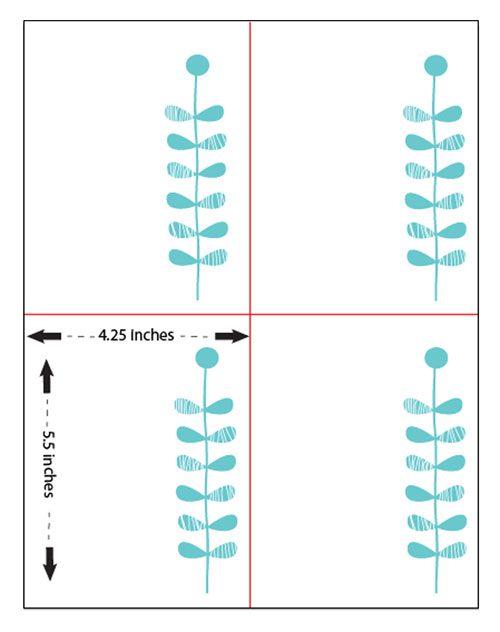
My DIY paper notepads are made of regular 8.5 x 11 sized bright white multipurpose paper. The first step is determining how you want to design your notepads. In your publishing software, divide the sheet with guides into four 4.25 x 5.5 quarters. Add your clip art, lines, and text to each quarter making sure that each quarter is formatted exactly alike. Print out 15 sheets on your printer, then make two cuts, one vertical and the other horizontal.The red lines in the picture below represent the two cutting lines.

When I made my example DIY paper notepads, I used 15 sheets of paper. 15 sheets are enough to make a notebook with sixty sheets plus a chipboard backer.
You can cut the paper into squares with a Xacto knife as shown in the video below. If you are planning to make quite a few notepads, I think it is better to just take your sheets to a quick printer. The print shop can make the two cuts for you. In my area, they charge about $1 to $2 per cut. The machines can cut 500 sheets at a time. You will think it is worth it! The paper is cut evenly in just seconds saving you quite a bit of time and work! Make sure you also include an 8.5 x 11 piece of chip board in your stack for cutting. You will then have perfect back ends on your notepads.
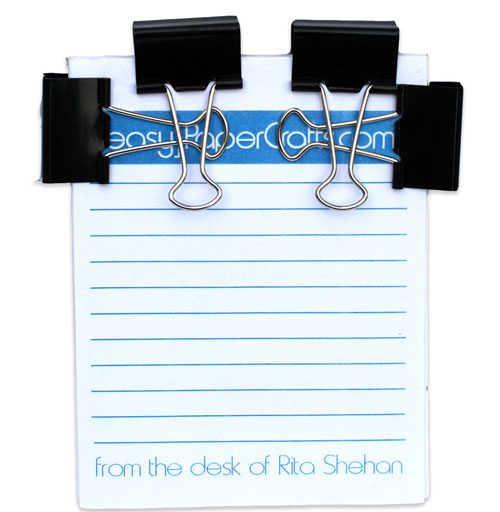
After you have stacked your sheets and backer board evenly, clip the top of the notepad with binder clips. Cover the top and back of the notepad with extra sheets, just in case some of the padding glue later drips from the top. Apply a thin layer of padding glue with a brush to the top edge. Let the padding glue dry, and then apply a second coat. Remove the upper and lower sheets, plus the clips after the glue dries.

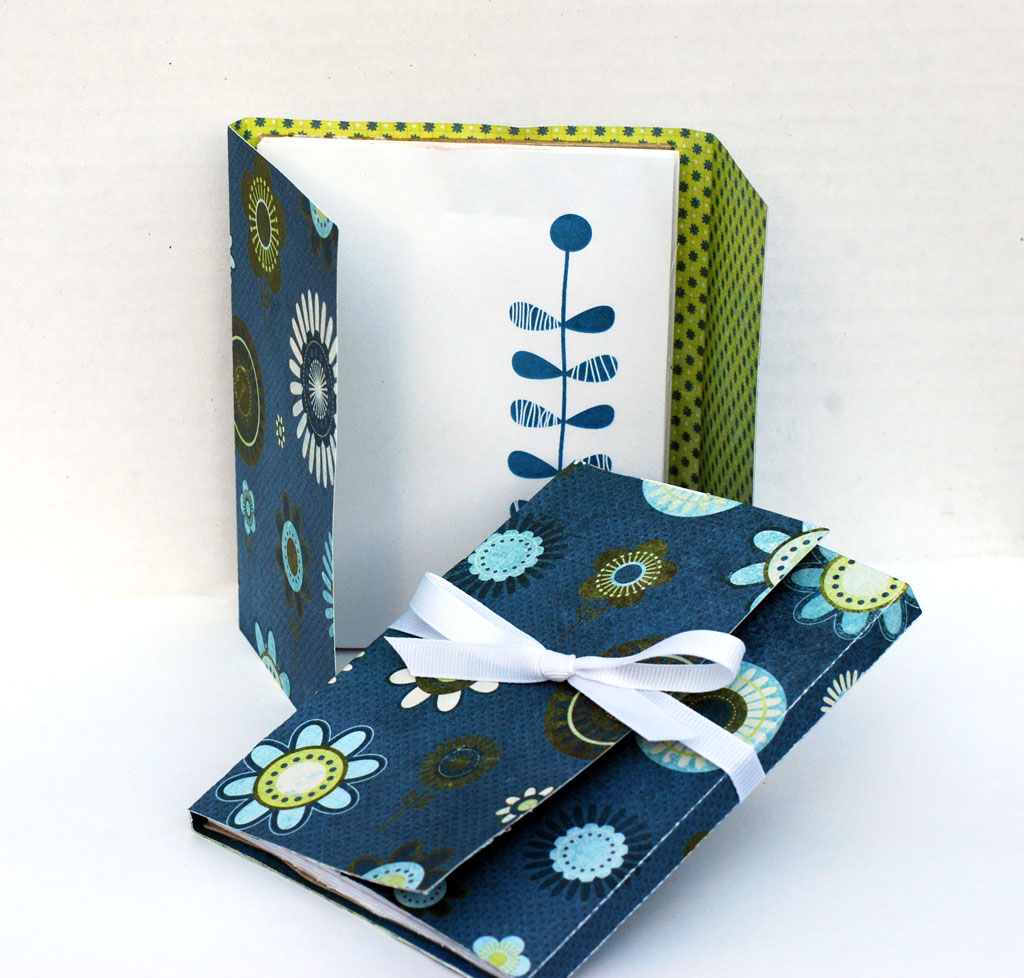
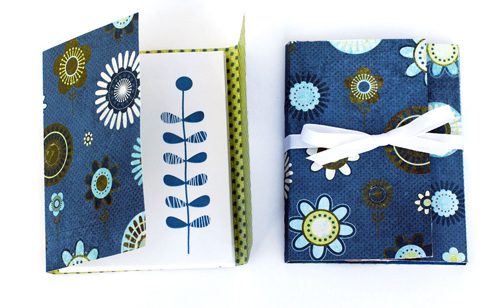
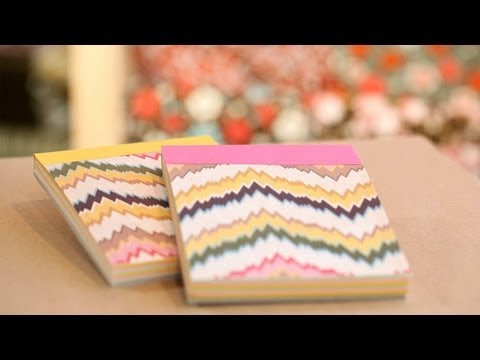
The notepads are now ready for use. You can take it one step further as I did. I like to make covers out of beautiful scrapbook cardstock, and then wrap it with a ribbon bow. You can download the die cut notepad cover template here. I have included files that should work with the majority of die cut machines.
Glue the chipboard backing of the notepad to the middle section of the cover. I used a plain old glue stick with good results, but if you want a secure bond use a hot glue gun.
Wrap the note book with a beautiful ribbon and tie it into a bow tie. You can add more embellishments if you want!
Now give that notepad to your friends and business associates. They will love it and think of you every time they write something on the notepads.
Check out the video below from Paper Source. It is easy to follow, and you will soon be crafting your notepads like a professional. If you are lucky enough to have a Paper Source Store in your area be sure to visit it. It is my favorite paper supply store in the whole world. I love them, and you will love them too!
Save
