
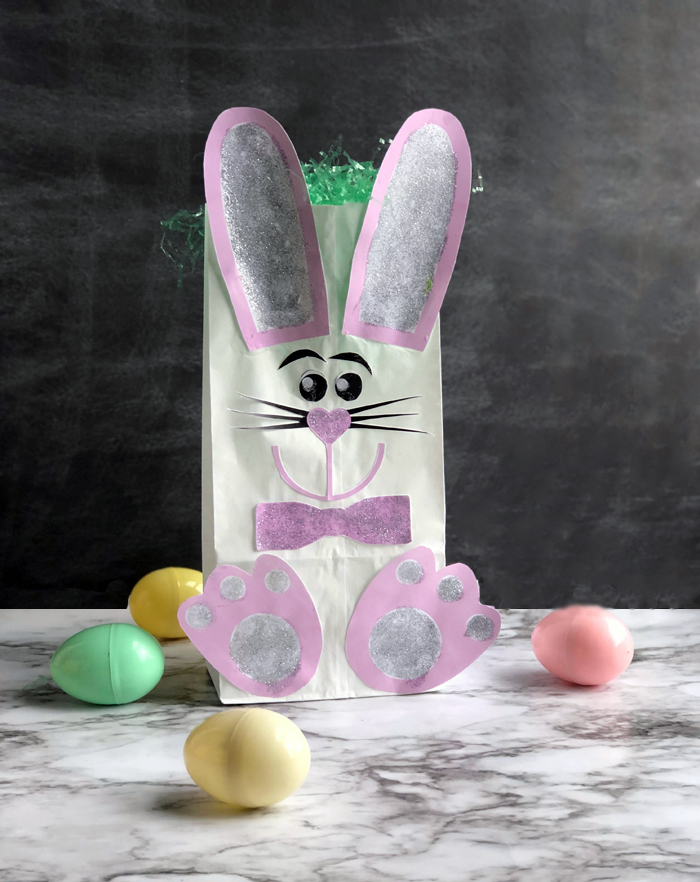
This cute little Easter bunny bag has two versions. The first one is a simple print, cut and glue craft suitable for younger kids, and the second version is made from shapes cut on a Cricut or other type of digital die cutter. You can mix and match any color and paper texture of your choosing with the second version.
Easter Bunny Lunch Bag Craft for Kids
Supplies Needed:
- PDF printable download
- Scissors
- Craft glue
- Glitter glue
- White paper lunch bag
- Two sheets of white cardstock
- Elmer’s silver glitter glue
- Black pipe cleaners *optional
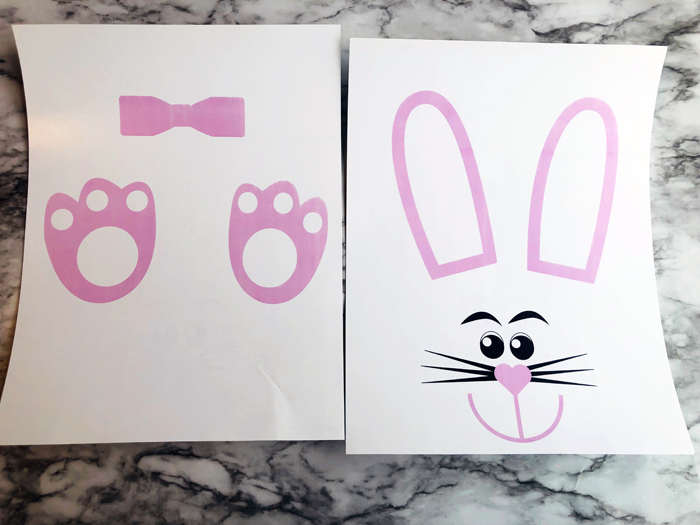

Download the free PDF lunch bag bunny bag printable, and print onto two sheets of white cardstock.
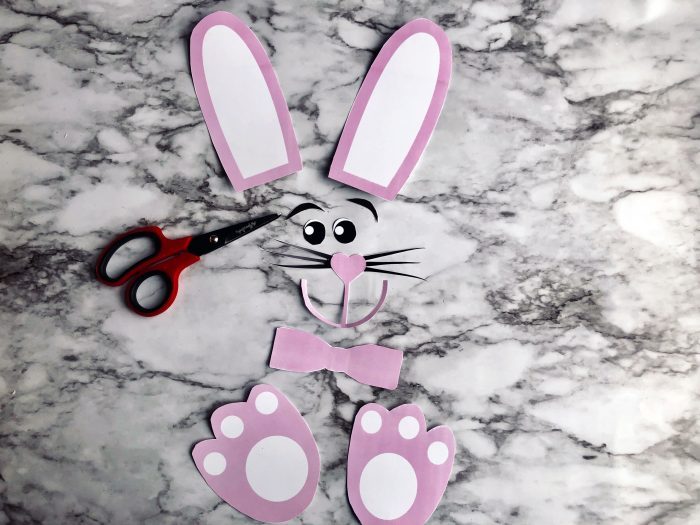
Cut out the pieces of the Easter bunny body from the printable and arrange in order on a flat surface.
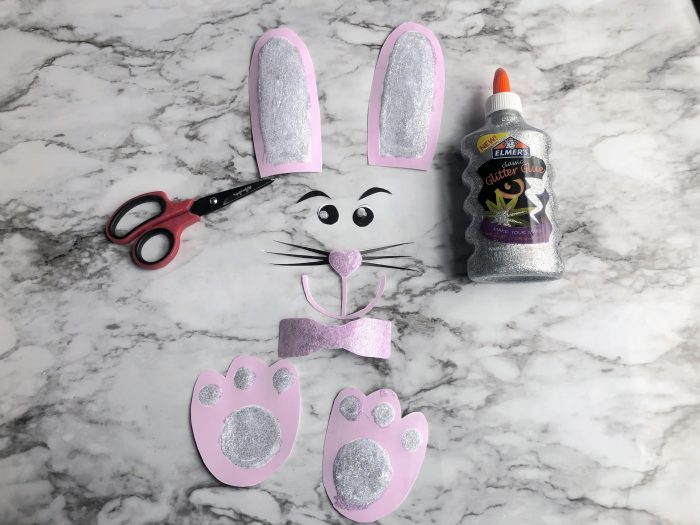
Because this is a kids project, we chose to use bottled silver glitter glue to avoid making a glitter mess. This stuff is almost magical! Just squeeze the glitter glue onto a surface, spread a bit with your finger or popsicle stick to evenly space out the glitter and wait for it to dry.
If you have kids, you need to stock up with this craft supply. You will be adding pizzaz to all of your craft projects. Easy peasy!
Just add glitter glue to any area of the lunch bag bunny that you want to make pop. There is no right or wrong way to do this step. We added some sparkle to the lunch bag bunny’s ears, nose, eyes, and feet. Allow a couple of hours for the glitter glue to dry, before proceeding to the next step.
Kids may want to replace the Easter bunny lunch bag eyebrows and whiskers with black pipe cleaners to add a bit of depth to the finished product. Just cut the paper whiskers from the bunny nose and replace with the pipe cleaner pieces.
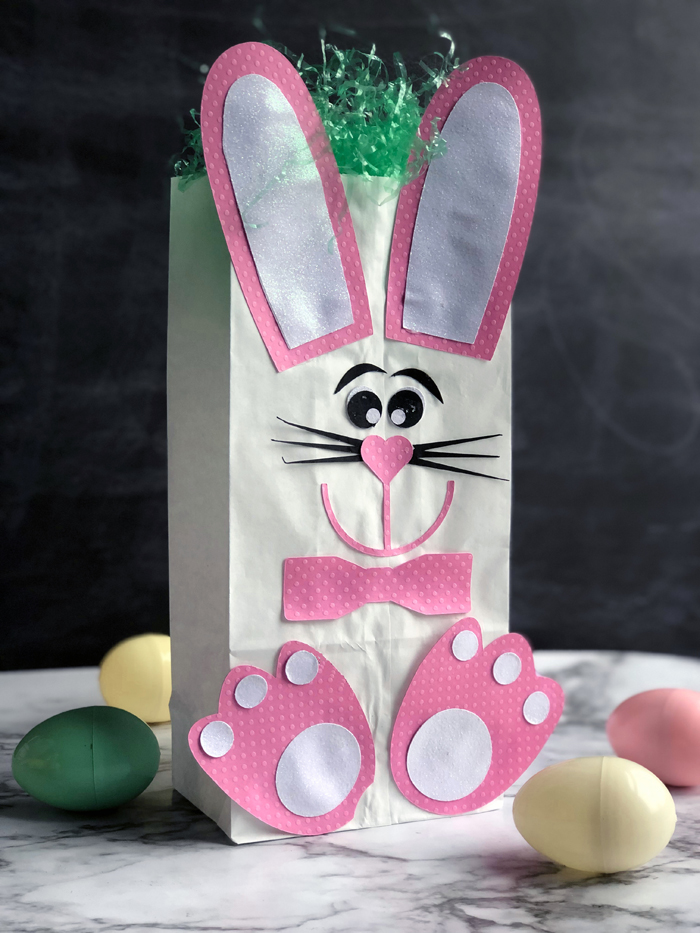
Following the above photo as a reference for placement, apply tacky glue liberally to the backs of the bunny template pieces and press into place onto the lunch bag.
Fill it with Easter grass and treats, then give it to someone you like. Watch their faces light up when they see the cute little lunch bag Easter bunny craft.
Alternate Easter Bunny Lunch Bag Craft Project

Supplies Needed:
- SVG files for digital die cut machine
- Digital die cutter
- An assortment of colorful cardstock of your choosing
- Craft glue

Cut out the various body parts of the bunny from the cardstock of your choosing, then glue the top layers onto the ears and feet. Let the glue dry, then apply craft glue liberally onto the backs of the bunny template pieces. Place the cutout bunny shapes into place onto a white paper lunch bag using the above photo as a reference. Now give this lovely little Easter Bunny Lunch Bag to someone you love!


