
We wish we could say we designed this cute little Easter chick cutout for our Easter chick lunch bag craft, but we didn’t. You can find the free Easter chick SVG download at vecteezy.com. They offer eight versions of the Easter chick for free personal use. We love that!
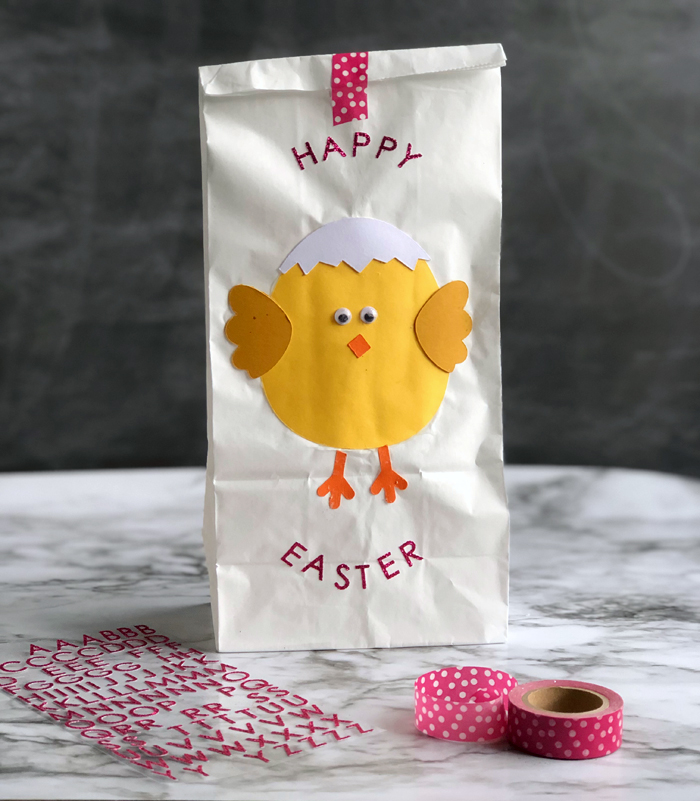
An Easter chick lunch bag craft makes a cute party gift bag or an alternative to a traditional Easter basket. Fill the sack with Easter grass, candy, and some trinkets. Make sure to seal it with washi tape, and you are finished. We all love crafts that are cute, quick, and, best of all, easy to make.
Your kids will love decorating white lunch bags with an Easter chick theme. They may, however, need a little bit of help from Mom and her Cricut, for the chick parts, but will undoubtedly enjoy gluing the chick parts onto the bag.
Supplies Needed:
- One sheet white cardstock
- One sheet orange cardstock
- One sheet yellow cardstock
- One sheet dark yellow cardstock
- Googly eyes
- White lunch bag
- Tacky glue or glue stick
- Stick on lettering
- Washi tape
Easter Chick Lunch Bag Steps
- Cut out the various parts of the Easter chick with your digital die cutter.
- Arrange the chick on the lunch bag before applying glue to determine the placement.
- Apply tacky glue or glue stick to the backs of the chick parts and attach to the lunch bag. Press down with your fingers to assure adhesion to the bag.
- Apply stick-on lettering to the Easter chick lunch bag craft. We used the phrase Happy Easter, but you could have any greeting of your choosing.
- Fill the bag with treats.
- Seal the bag with coordinating washi tape. This papercraft will bring a smile to anyone who receives it. Make some for your neighbors, family, and friends. It is an economical way to spread the joy of the season in your world!


