
Ok, I’ll admit it. My garage is a mess. I decided that it was time to clean it up. There were no more excuses left; I was finally going to do something about it. The major problem was that there were quite a few tools, rakes, and brooms that desperately needed to find a home. Being the cheap, um err thrifty person I am, I decided to build some storage racks with things I already had on hand coupled with minimum purchases from the hardware store.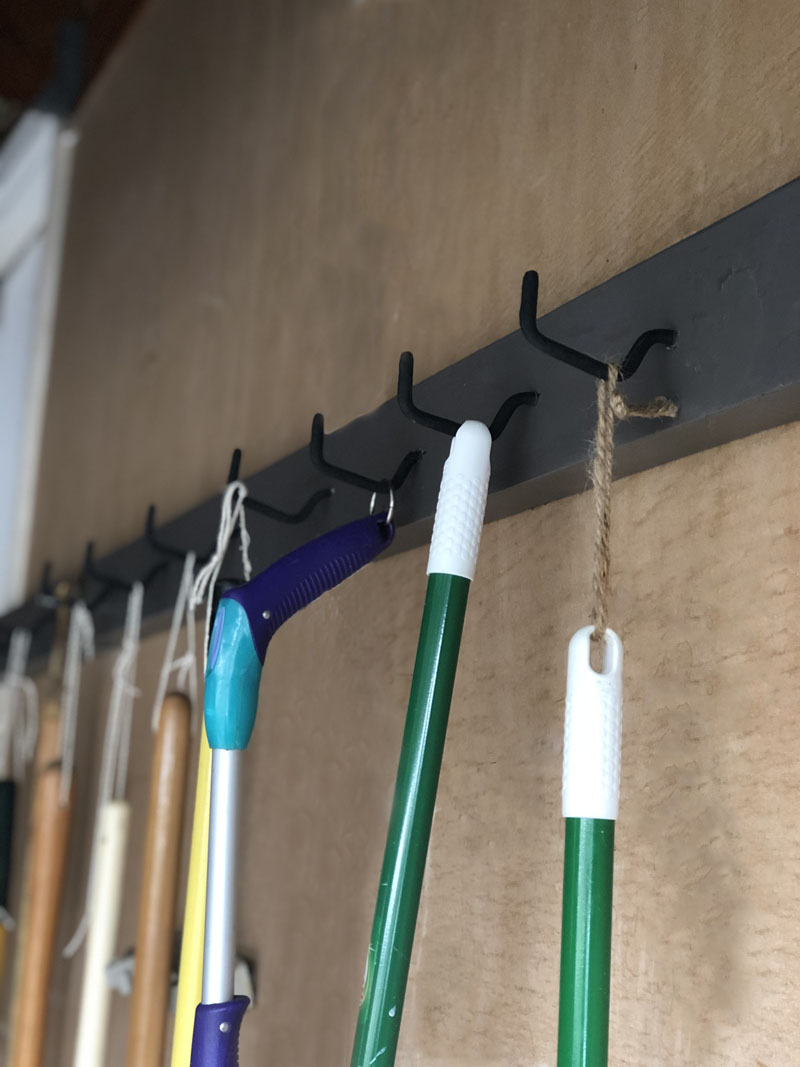

I had some 2×4 lumber and grey paint leftover from another project that I decided to repurpose. Measuring out the wood to fit the wall space in my garage was the first step. I cut the wood to size using a circular saw, then painted it grey with leftover oil paint. I love the look because the oil paint makes my lumber look shiny finished, and glossy.
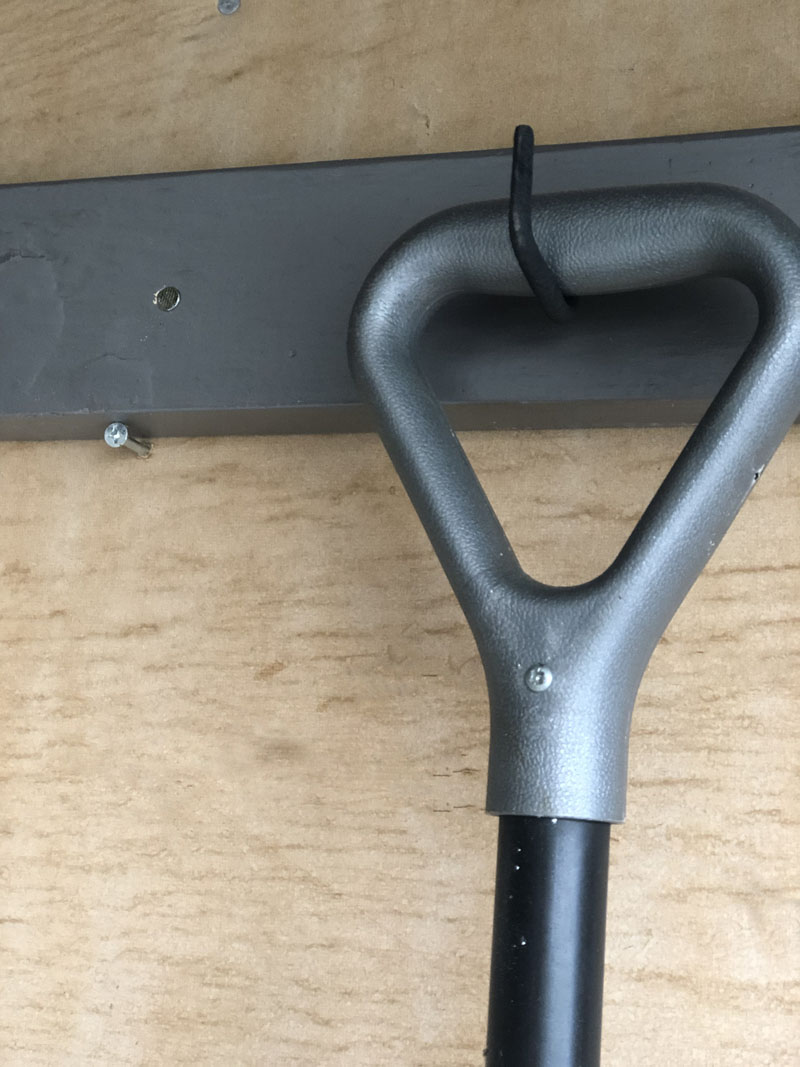
The next step is locating the wall studs. You can use a stud finder if you have finished the wall in your garage or look for nail heads already used to hang the drywall. Measure and drill holes into the front side of the 2×4 so that your screws will screw into the wall studs. I found some old leftover wood screws that were perfect. They were long enough to go through the 2×4 and be screwed into the stud about one inch deep. If you want to make your tool rack a bit more secure, you can add two screws to the underside of the 2×4, as in the photo above.
Menards (my local hardware store) sells utility hooks that are the perfect size and style. I drilled a hole for each pin and screwed each one into place, and hung the rack onto my garage wall with the long screws. The storage rack is solid and holds up to 13 tools. So quick and easy!

Attach tools onto the rack after drilling a hole through the tool handle and inserted some sturdy string to hang it. Stand back and admire your clean garage.


Pingback: 35 Tool Storage Ideas For Easy Organization