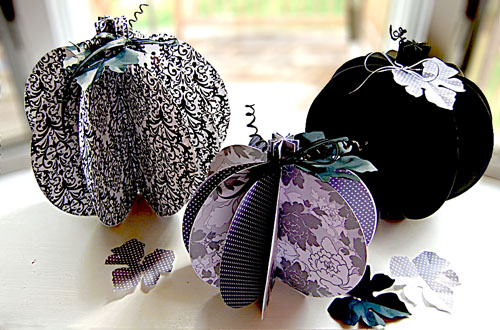
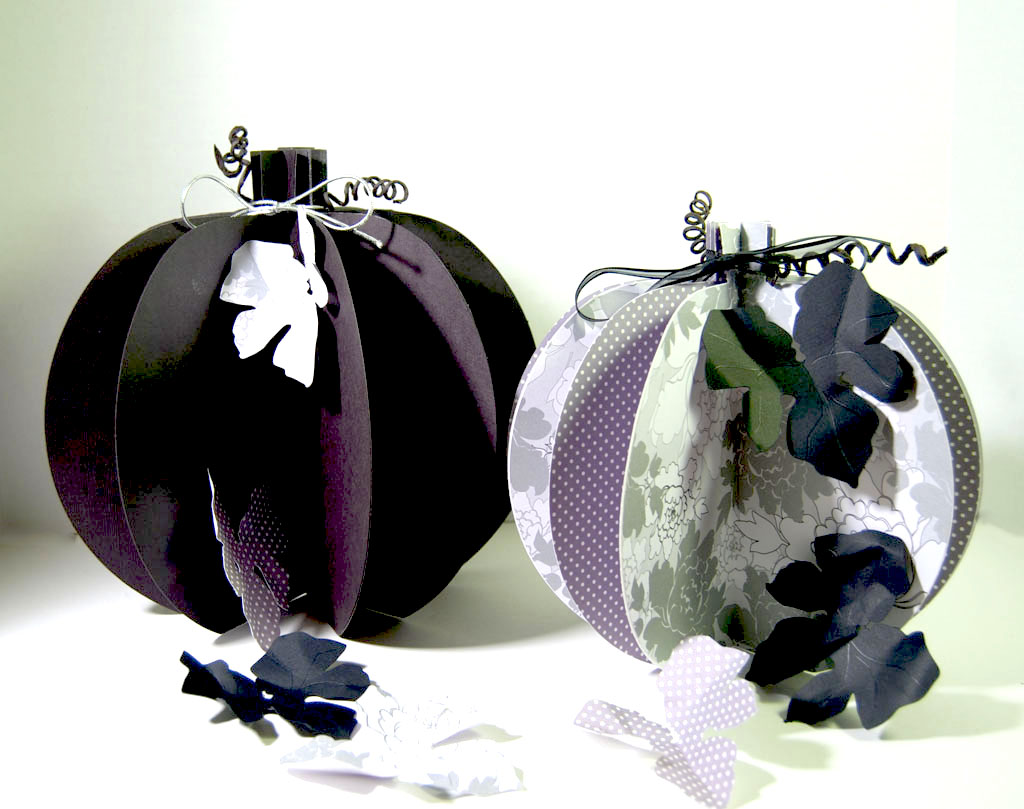
Who says pumpkins have to be orange? These are made from various black, silver and white scrapbook paper and are very elegant. Make some for your holiday display today! They are easy and quick to make and look fabulous
Supplies:
- Ten sheets 12 x 12 black damask scrapbook paper (For large pumpkin)
- Ten sheets 12 x 12 black cardstock (For medium pumpkin)
- Five sheets 12 x 12 silver floral scrapbook paper (For small pumpkin)
- Five sheets 12 x 12 gray dotted scrapbook paper (For small pumpkin)
- Dark floral tape
- Floral wire
- Black ribbon
- Embossing stylus or bone folder
- Glue

Directions:
- Download template(WPC, ai, dxf, eps, pdf and SVG files included in download) and use your die cut machine of choice. This can also be printed out onto card stock and cut by hand with an X-Acto knife. Cut ten pumpkin patterns for each pumpkin papercraft.
- Cut as many of the beautiful pumpkin leaves from the leftover cardstock as you desire. Use the embossing stylus or bone folder to score realistic looking veins into the leaves. Curl edges to give leaves a realistic look and feel.
- Fold each pumpkin shape in the middle.
- Without unfolding a pumpkin shape, apply glue on one of its outer faces.
- Glue a second folded pumpkin shape on top of the first one, keeping both pumpkin shapes aligned at the edges.
- Press on the pair of pumpkin shapes to glue them together.
- Continue gluing the pumpkin shapes one on top of the other, making sure they are aligned along the edges.
- After you have glued the first and last pumpkin shape in place, arrange the pumpkin into a circular shape, and tie a black ribbon bow around the “stem.” Tie silver cording around your black pumpkin.
- Wrap floral paper around floral wire. Wrap the covered floral wire around a pencil and remove. Glue the curly floral wire on the base of the stem.
- Glue leaves around stem and place randomly around the pumpkin.Enjoy your elegant and beautiful paper pumpkin display!

