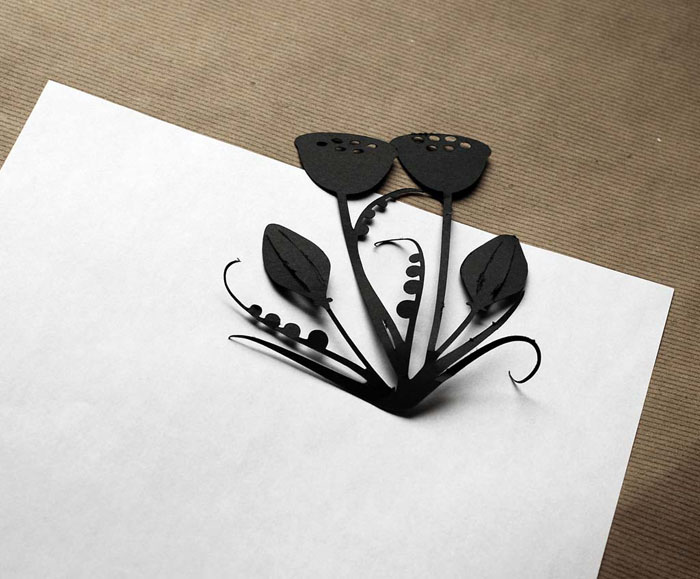
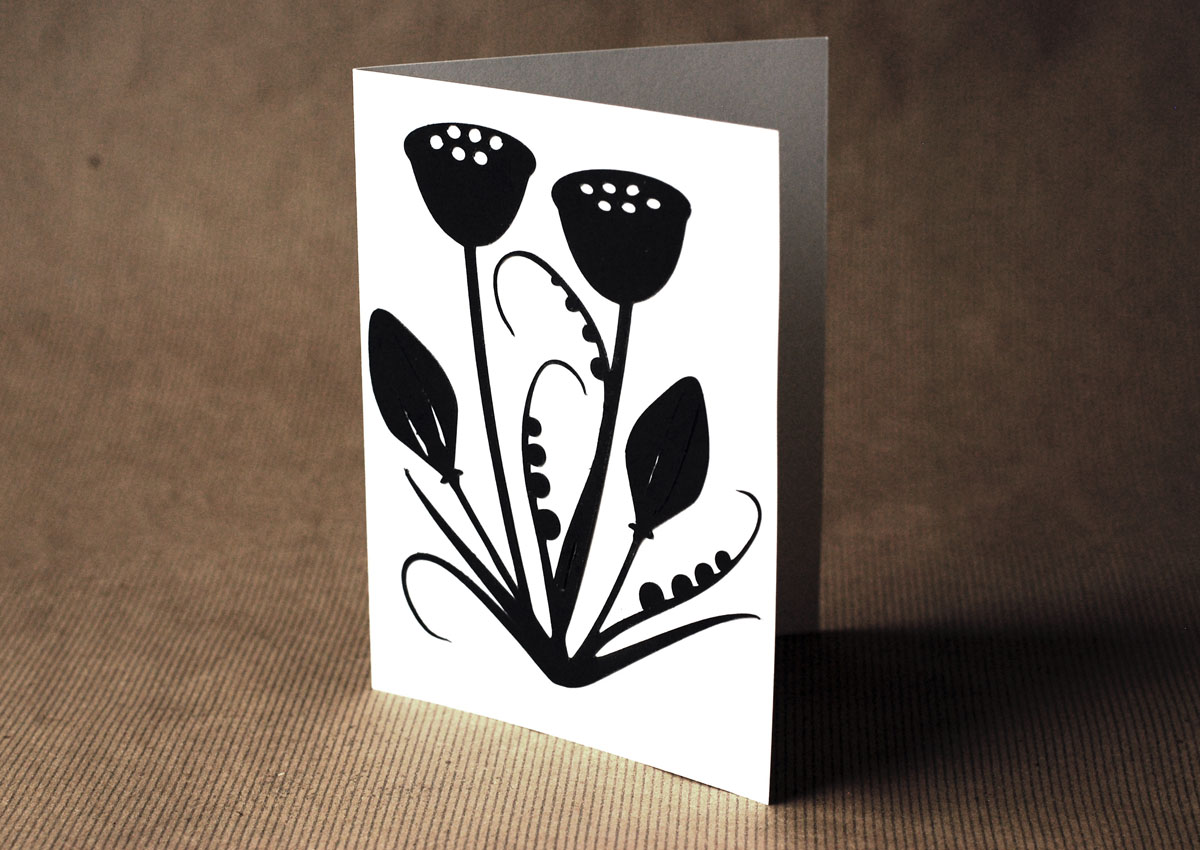
Paper cut greeting cards are quite straightforward to make. All you need is white card stock, black card stock, the cutting files available for download or a Xacto knife and some spray adhesive.
The art of paper cutting has been around as long as there has been paper and can be traced back to the 6th century in China. The Germans called the art of paper cutting Scherenschnitten, and other cultures have their names and styles of the art form. There is paper cutting revival today, and many beautiful contemporary works of paper cut art can be found on the internet and in published books.Take a look at the overwhelming number of inspirational books available on the topic at Amazon.com You will be amazed at the number of talented people practicing the craft.
Paper cut greeting cards can be as intricate or as easy as you want! I tried to keep the cutting details of this project simple enough so that everyone can easily get good results, but detailed enough to be able to be framed as a piece of artwork if desired. So let’s get started and make some beautiful paper cut greeting cards.

Supplies for Paper Cut Greeting Cards:
- one sheet 8.5 x 11″ white cardstock
- one sheet 8.5 x 11″ black cardstock
- downloaded die cut files
- spray adhesive
- Xacto knife
Instructions:
- Download cutting files (files for most cutting machines are included in download)
- Cut floral pod artwork on die cut machine, or by hand with a Xacto knife.
- Cut the 8.5 x 11 sheet of white cardstock in half at the 5.5″ mark. (Paper should be in portrait position)
- Take the cut half and fold in half again. Use a bone folder to score paper and get a perfect crease.
- Spray adhesive to the back of the floral pod cut out and place on the front of the notecard.
- Send the card to someone you like or love and make their day!

