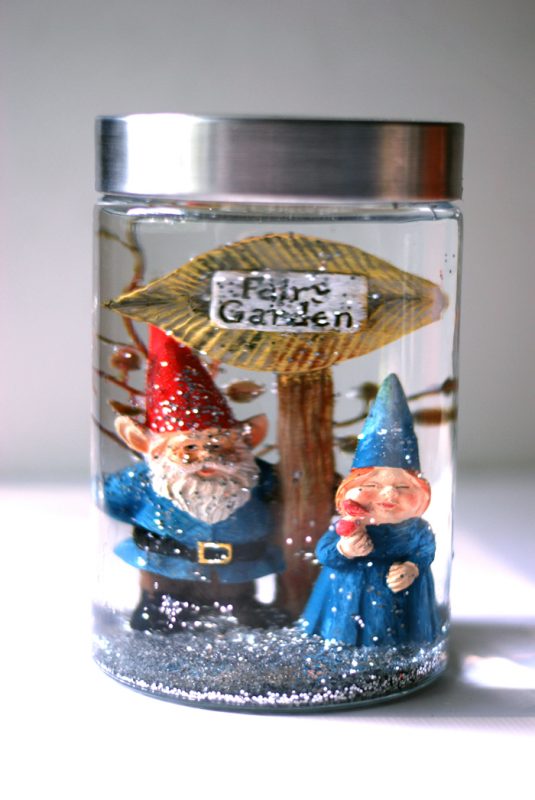
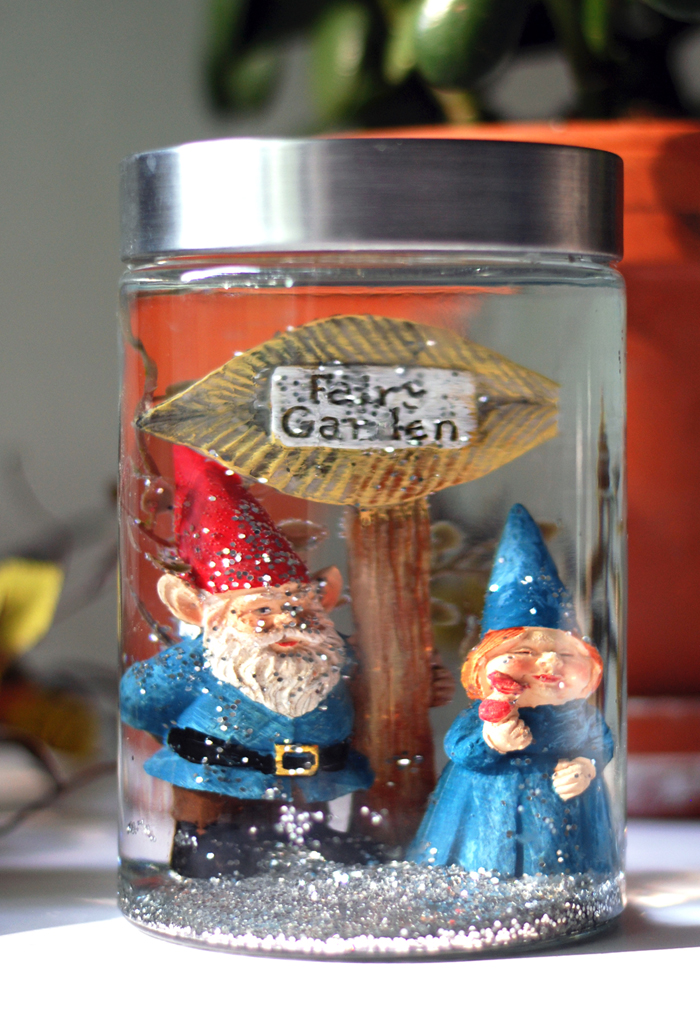
Almost everyone has memories of playing with a snow globe as children. I remember shaking the globes and watching the snow fall, totally mesmerized by the process. DIY snow globes are easy to make, and best of all you can design the look and theme of the globe. Who says that snow globes have to have a winter theme? You can add colored glitter instead of white snow for added sparkle no matter what the season. Make something different and celebrate summer with an adorable gnome couple (or whatever you desire) in a glitter globe. So cute!
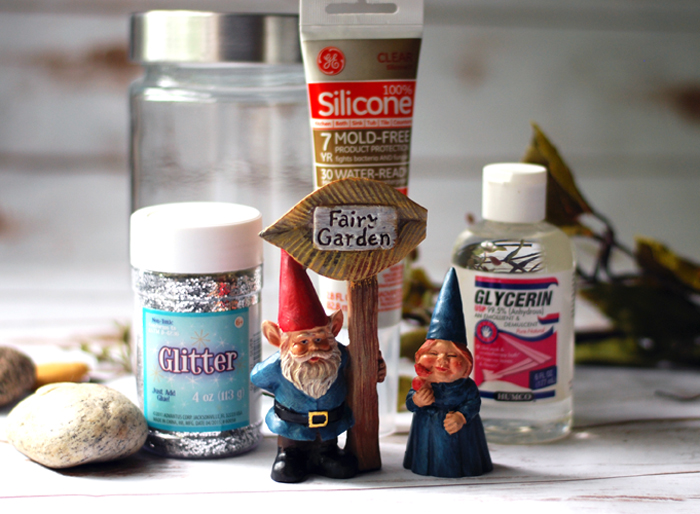
Materials Needed to Make a DIY Snow Globe / Glitter Globe
- Glass jar with lid
- Waterproof figurine
- Plastic foliage
- Rocks or stones *(optional)
- Water
- Liquid glycerine
- Glitter
- Silicone glue
- Food coloring *(optional)Wash your globe or jar with dish soap and water to get rid of any dust particles. After the jar is completely dry, glue the figurine to the bottom of the glass jar with silicone glue. Glue some plastic greenery to the back of the gnome figures to add a touch of whimsy to your glitter globe theme. Allow the silicone glue to dry completely before the next step.
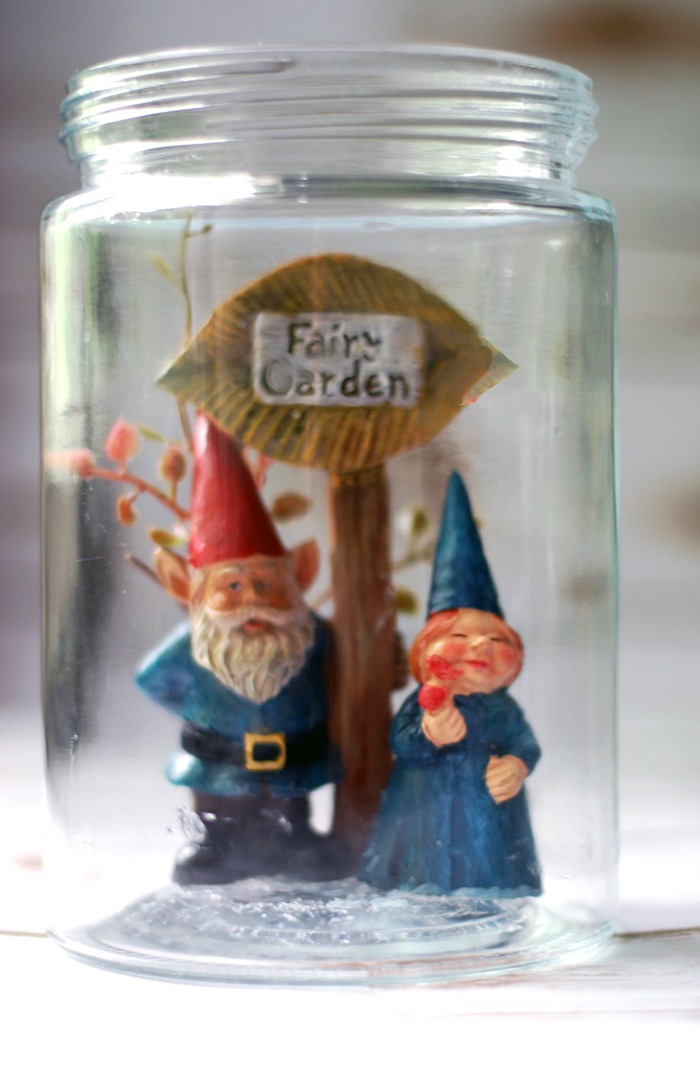 Fill the glass jar with water all the way to the brim. You may add a couple of drops of food coloring at this point if you wish.
Add two drop of liquid glycerine to the jar of water. Add colored glitter to the glass of water. It can be any color you desire.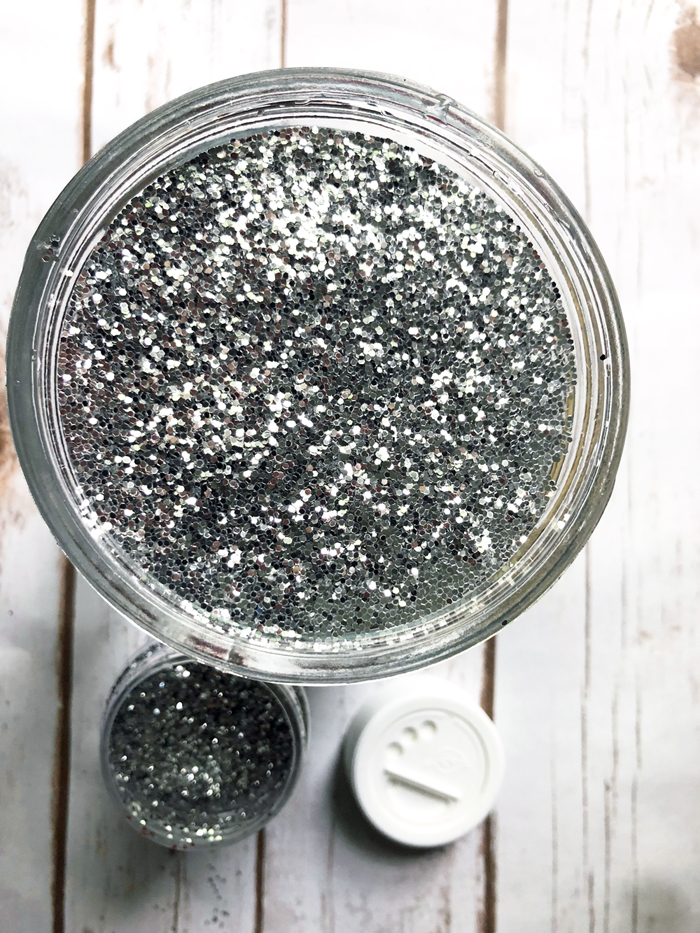
Apply a line of epoxy glue to the edge of the inner lid. Place the top on the jar and twist it tightly. Your snow globe is now sealed, and you can turn it upright. Shake the snow globe and enjoy your scene.
